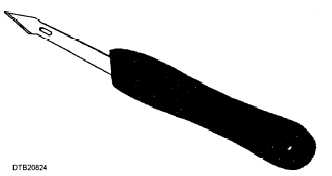
Figure 8-24. - Compound knife with #25 blade.
Plaster Knife
The plaster knife (fig. 8-25) is a heavy-duty knife used to trim and chisel gypsum products and impression compound. It has a large flat blade at one end with a wide projection shaped Ii ke a screwdriver at the other end. The handle is made of wood and is riveted in place. You must keep its blade sharp.
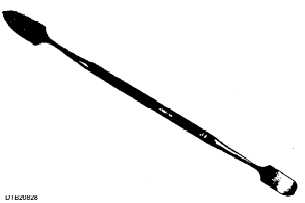
Figure 8-28. - Wax spatula, #31.
PROSTHODONTIC SPATULAS
Spatulas are used in prosthodontics for handling dental waxes and mixing impression materials. The laboratory spatula shown in figure 8-26 is used to mix the various impression materials. It has a 2-1/2 inch flexible blade, which is about 1-inch wide with a rounded end. The handle is usually made of wood or plastic.
The wax spatulas commonly used are the #7 (fig. 8-27) and the #31 (fig. 8-28). Both spatulas are used to hold small bits of wax over a Bunsen burner flame that delivers liquid wax.
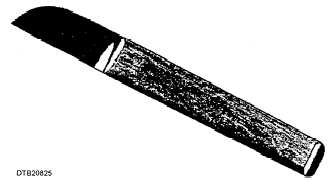
Figure 8-25. - Plaster knife.
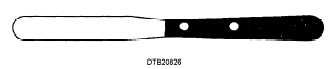
Figure 8-26. - Laboratory spatula.

Figure 8-27. - Wax spatula, #7.
PRELIMINARY IMPRESSIONS
Preliminary impressions are a three-dimensional record of a patient's dentition and anatomy of the alveolar process. Almost all prosthodontic treatment requires preliminary impressions be taken so that a dental cast can be made and used by the dentist as a diagnostic tool and to fabricate various prosthodontic appliances.
MATERIALS REQUIRED
The dentist may direct you, under supervision, to take preliminary impressiom of the dental arches of a patient. You will need the following materials:
Alginate
Impression trays
Rope-style utility wax
Mixing bowl, spatula
Mouth mirror
Mouthwash Water
IMPRESSION PROCEDURES
Once you have all your materials standing by, take a few minutes and explain to the patient what is involved in the impression procedure. The key to taking good impressions is to have the correct size impression tray fit the arches, to mix the alginate, position the tray correctly in the mouth, have the patient relax and breathe through the nose, let the
Continue Reading