have a securely placed ligature on the clamp. You are now ready to place the clamp on the rubber dam forceps.
Hold the clamp with the bow facing upward and away from the forceps. Place the small projections on the working ends of the rubber dam forceps into the corresponding holes on the rubber dam clamp. Squeeze the handles of the forceps together to align projections with the corresponding holes on the clamp. Once the clamp is placed on the forceps, tilt the forceps upright and slide the locking device on the forceps downward to lock the handles in position. Locking the forceps handles is necessary to continue the tension required to keep the clamp attached to the forceps. Now the clamp is ready for trial placement.
Pass the rubber dam forceps, with the working end covered, with the palm of your hand and the clamp pointed toward the placement position of the tooth. Be sure to hold on to the ligature while the clamp is checked for proper fitting. Normally, the clamp should fit near or slightly below the cementoenamel junction. To stabilize the clamp, all the tips of the clamp must be in contact with the tooth to establish a facial lingual balance. Exercise care to ensure that the clamp tips do not impinge on the gingival tissues. If it does, it will cause the patient to experience pain. If the clamp is not placed properly, it may spring off the tooth and cause injury. Caution is advised to stabilize the clamp firmly on the tooth before the clamp forceps are loosened. Once the trial placement is complete, remove the forceps and attach the clamp until final placement.
To prepare the rubber dam material, you need the rubber dam punch to make the appropriate number of holes of varying sizes. The punch has an adjustable wheel with holes of varying sizes. By adjusting the wheel, holes of different sizes are produced in the material when the cutting tip strikes the hole in the wheel. The holes in the rubber dam material must be punched firmly and cleanly. A ragged hole or tag will tear easily as the dam is placed over the crowns of the teeth. A 'ragged hole also may cause leakage of moisture around the tooth.
Ideally, the rubber dam material is marked (fig. 4-24) with predetermined markings of an average arch using a rubber dam stamp and ink pad. This makes punching the rubber dam material easier because you have a pattern to follow with the normal shape of the arch and spacing alignment of the teeth. Before punching the material, always check the oral cavity for any missing, misaligned, or extra teeth. You will need to make adjustments from the standard pattern for these items. Punch the hole for the tooth to be treated first. Then, determine what additional holes must be punched. Normally, you will punch holes for the two anterior and at least one tooth posterior to the tooth being treated. An exception to this is root canal therapy when only the involved tooth is exposed. After the holes are punched, apply a slight amount of water soluble (brushless shaving cream) lubricant to the back of the material over the crowns and contact areas of the exposed teeth. Now the rubber dam is ready for placement into the oral cavity.
Placement
The rubber dam material and clamp can be placed using several methods. The first method usually requires assistance. Place the rubber dam frame on the outside of the dam with the bow of the frame facing out. Stretch the dam material from side to side to secure the corners of the dam on the four projections at the corner of the frame. The rubber dam material should appear baggy on the frame rather than tight to allow easier placement in the oral cavity. Pass the rubber dam and attached frame to the dentist for placement in the oral cavity. As the dentist stretches the rubber dam material over each tooth to be isolated, the assistant uses floss to slip the septum (rubber dam material between the holes) between the teeth without tearing the material. Always place the floss on the tooth, never directly on the rubber dam itself. Placement of the floss upon the tooth assists in bringing a single thickness of the dam through the
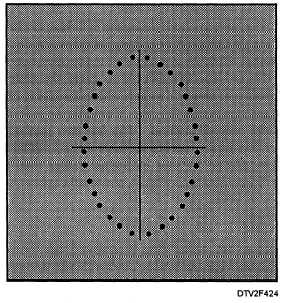
Figure 4-24. - Marked rubber dam material.
Continue Reading